Mood:
A lot has happened since my last entry. In fact, I
had another long hospital stay and forgot
where I had created this Blog! Fortunately, I was
checking Google and saw the link to this page, so I
came here to update it.
I'll bookmark it so I can keep it current!
Let's see...what has gone on with the car...?
First, I guess I'll tackle the details of how I removed the intake manifold and polished it out. It was just a sand-finished cast aluminum, but now it shines like chrome. All in a couple of days' elbow grease.:-)
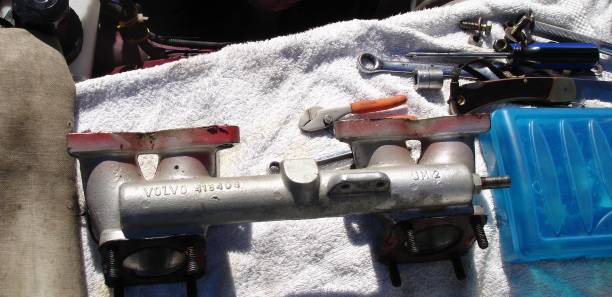
This is a shot of the manifold as I was removing it from the engine. You can see the casting numbers, the rough surface, and the big, unused boss in the middle. There's a lot of work to do to get this part looking nice, but the cost is near zero!
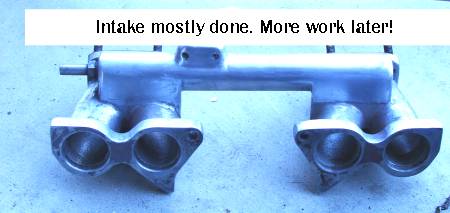
...and here's the intake manifold as it nears completion. The boss is gone, the casting numbers have been ground and polished off, and the whole surface has been smoothed by hand using emery boards.
While I was working on this project, I also decided to remove the home-made plugs that capped off the now-unused fuel injector ports. I removed the bolts that help down the chunks of angle iron that kept the plugs in place, then I pried out the 'plugs' the supposed 'mechanic' installed. To my surprise, the holes were plugged by nickels and sealed with bathtub caulk!
I cleaned up the mess, and also cleaned off the nickels, since they were just right to use for plugs. I re-installed the plugs using JB Weld as the bedding agent (it won't leak or fall out!)
After the JB Weld had cured overnight, I sanded it down smooth and filled up any low spots with regular Bondo. A good coating of red engine paint followed, then I plugged the unneeded bolt holes with Allen-head set screws.
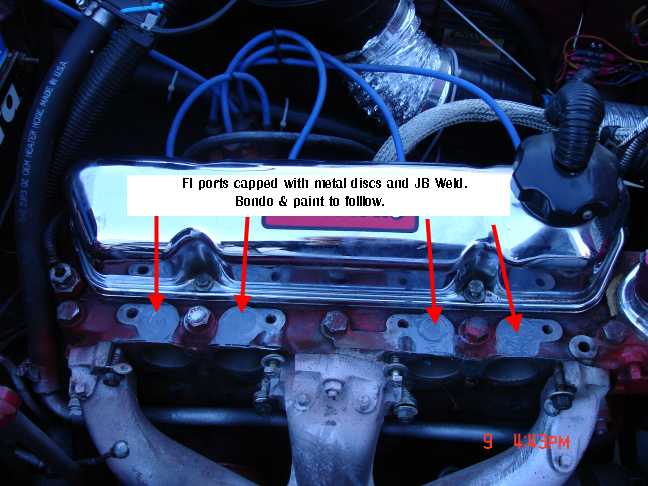
This little job really cleaned up the top of the engine!
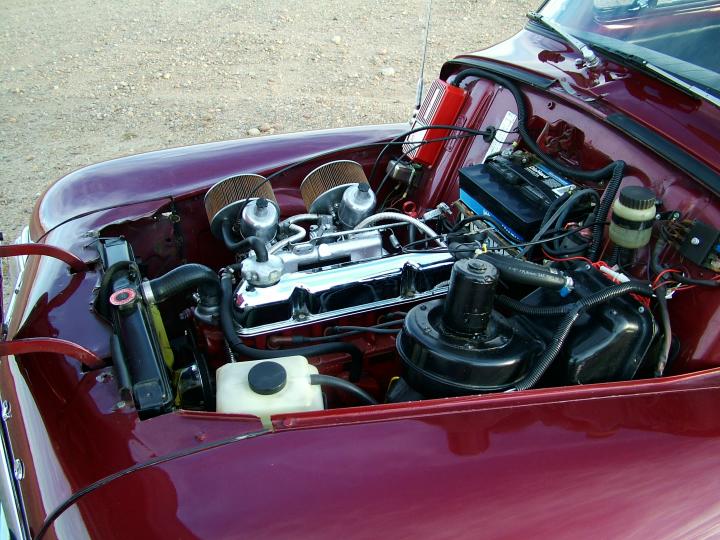
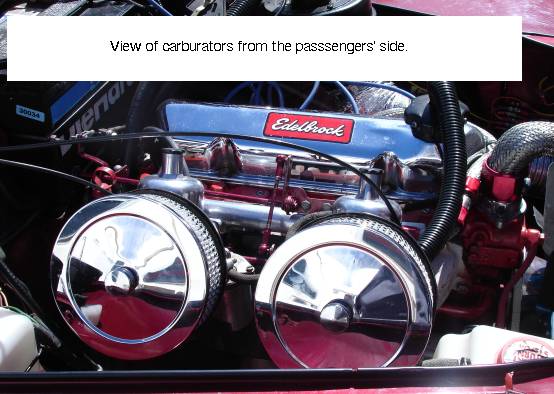
Next, I re-installed the newly-polished intake manifold, and started rebuilding the SU HS6 carburettors. I found a mixed bag of parts had been installed over the years, including mis-matched jets and needles (they control the flow of fuel through the carbs.) I removed all of the bathtub caulk that had been slathered over the adjustment screws, then I sat down and began polishing the more visible parts of the carbs. This includes the domed dashpots on the top, plus the float bowls on the sides.
After making sure that all the parts in both carbs matched, I set the preliminary adjustments identically on both carbs and installed them.
Here you can see the difference polishing makes to regular aluminum. Very pretty, and it cost virtially nothing.
Next, I tackled the system that held the air filters onto the carbs. The stock system was two bolts per carb, running through the air filter, then the carb flanges, then requiring a nut on the back side. The problem I was having was that any time I wanted to fiddle with the carbs, I had to remove the air filters, which usually meant one or more nuts dropped and lost forever in the bowels of the engine compartment, then at least 45 minutes work to get the nuts back onto the bolts and everything tightened down again. This setup located the nuts in the most inaccessible areas of the carbs, and was a royal PITA!
Before I installed the air cleaner filters I tapped some threads into the carb flanges so I could just screw a bolt into the carb and not have to use a nut at all. Then I made a set of air filter covers that would come apart (the stock ones were all one piece, so you had to buy new filters at $36 a set every 10,000 miles) so I could use inexpensive aftermarket filter elements.
I couldn't find what I wanted in the 6" diameter size of the old filters, so my plan of gutting the old filters and just putting in new elements didn't work.
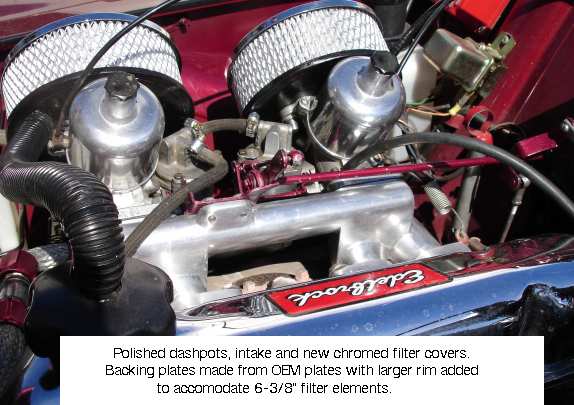
Instead, I found some 6-3/8" filters with covers and backing plates at the local auto parts store. They were in the 'chrome dress-up' section, not the filter section.
The new covers used only one screw in the center to attach them vs. the two offset bolts the old ones used. To get around this, I made up a 'bridge' to span the carb throats, and welded a nut into the middle for the new cover screw to thread into.
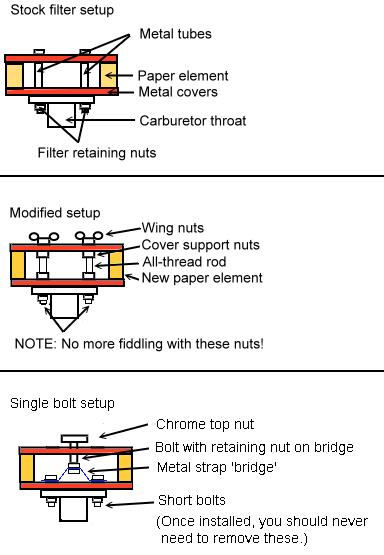
Once assembled, the whole setup works and looks great!
My latest projects haven't been big ones, but I'm still trying to recover from my illness, so I spend very little time with the car.
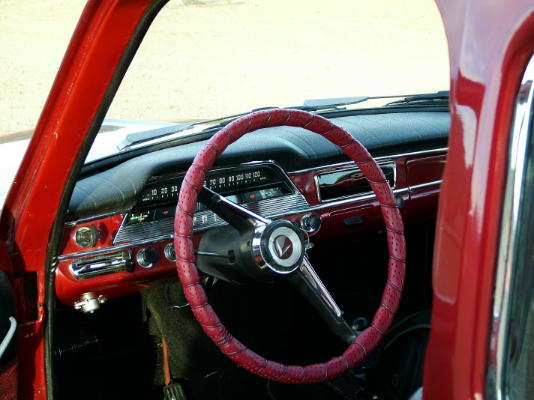
I had been wanting to buy a 'DashMat' to help protect the very expensive padded vinyl dash pad. The heavy UV damage we get here in the desert will make short work of vinyl, so I had been religeous about keeping the dash pad covered with ArmorAll or Aerospace 303 Protectant.
I was in one of our local parts stores, and was just browsing around when I noticed they sold DashMats. I leafed through the catalogue not expecting to find anything, but to my surprise I found that they had a pattern for a Volvo 120-series dashboad. the 120 dash is a little wider than the PV's, but essentially the same, so I ordered a DashMat in Wine color, which is very close to te exterior color of the car. These DashMats come in a couple of different fabrics, but I've found that I really don't care for the cloth one. I opted for the one made from carpet, which is guaranteed not to fade.
The DashMat arrived about a week later, and I laid it out on the dash to check the fit. As I suspected, I had a couple of extra inches on each end, but everything else was perfect.
I held it in place and used a Sharpie to mark the back side where I'd need to trim it down, then I took it into the house and worked on it.
I had to free the edge binding, so I cut away the threads with a sharp knife. Then I used scissors to cut the DashMat to its new size, and then ran it through the sewing machine to put the edge binding back on. Naturally, there was an excess of binding, so that got trimmed off too!
Now it fits perfectly, and it only cost $29!
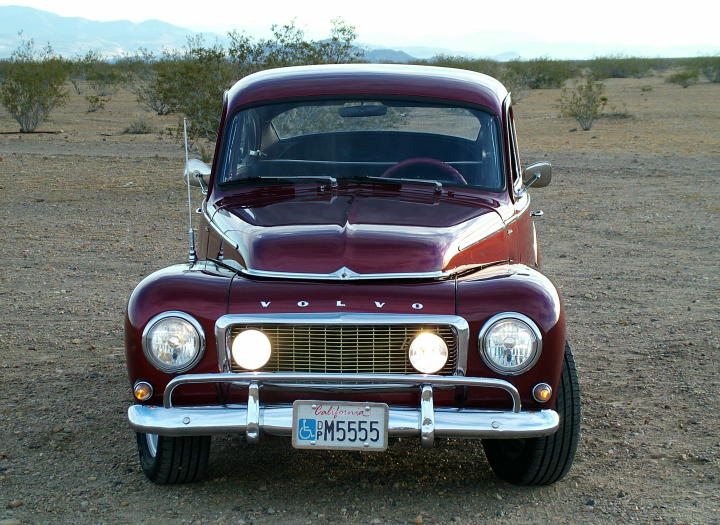
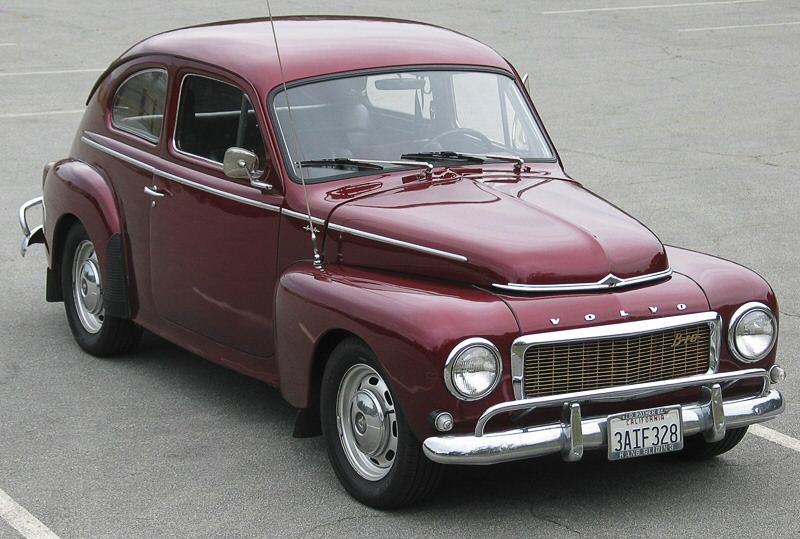
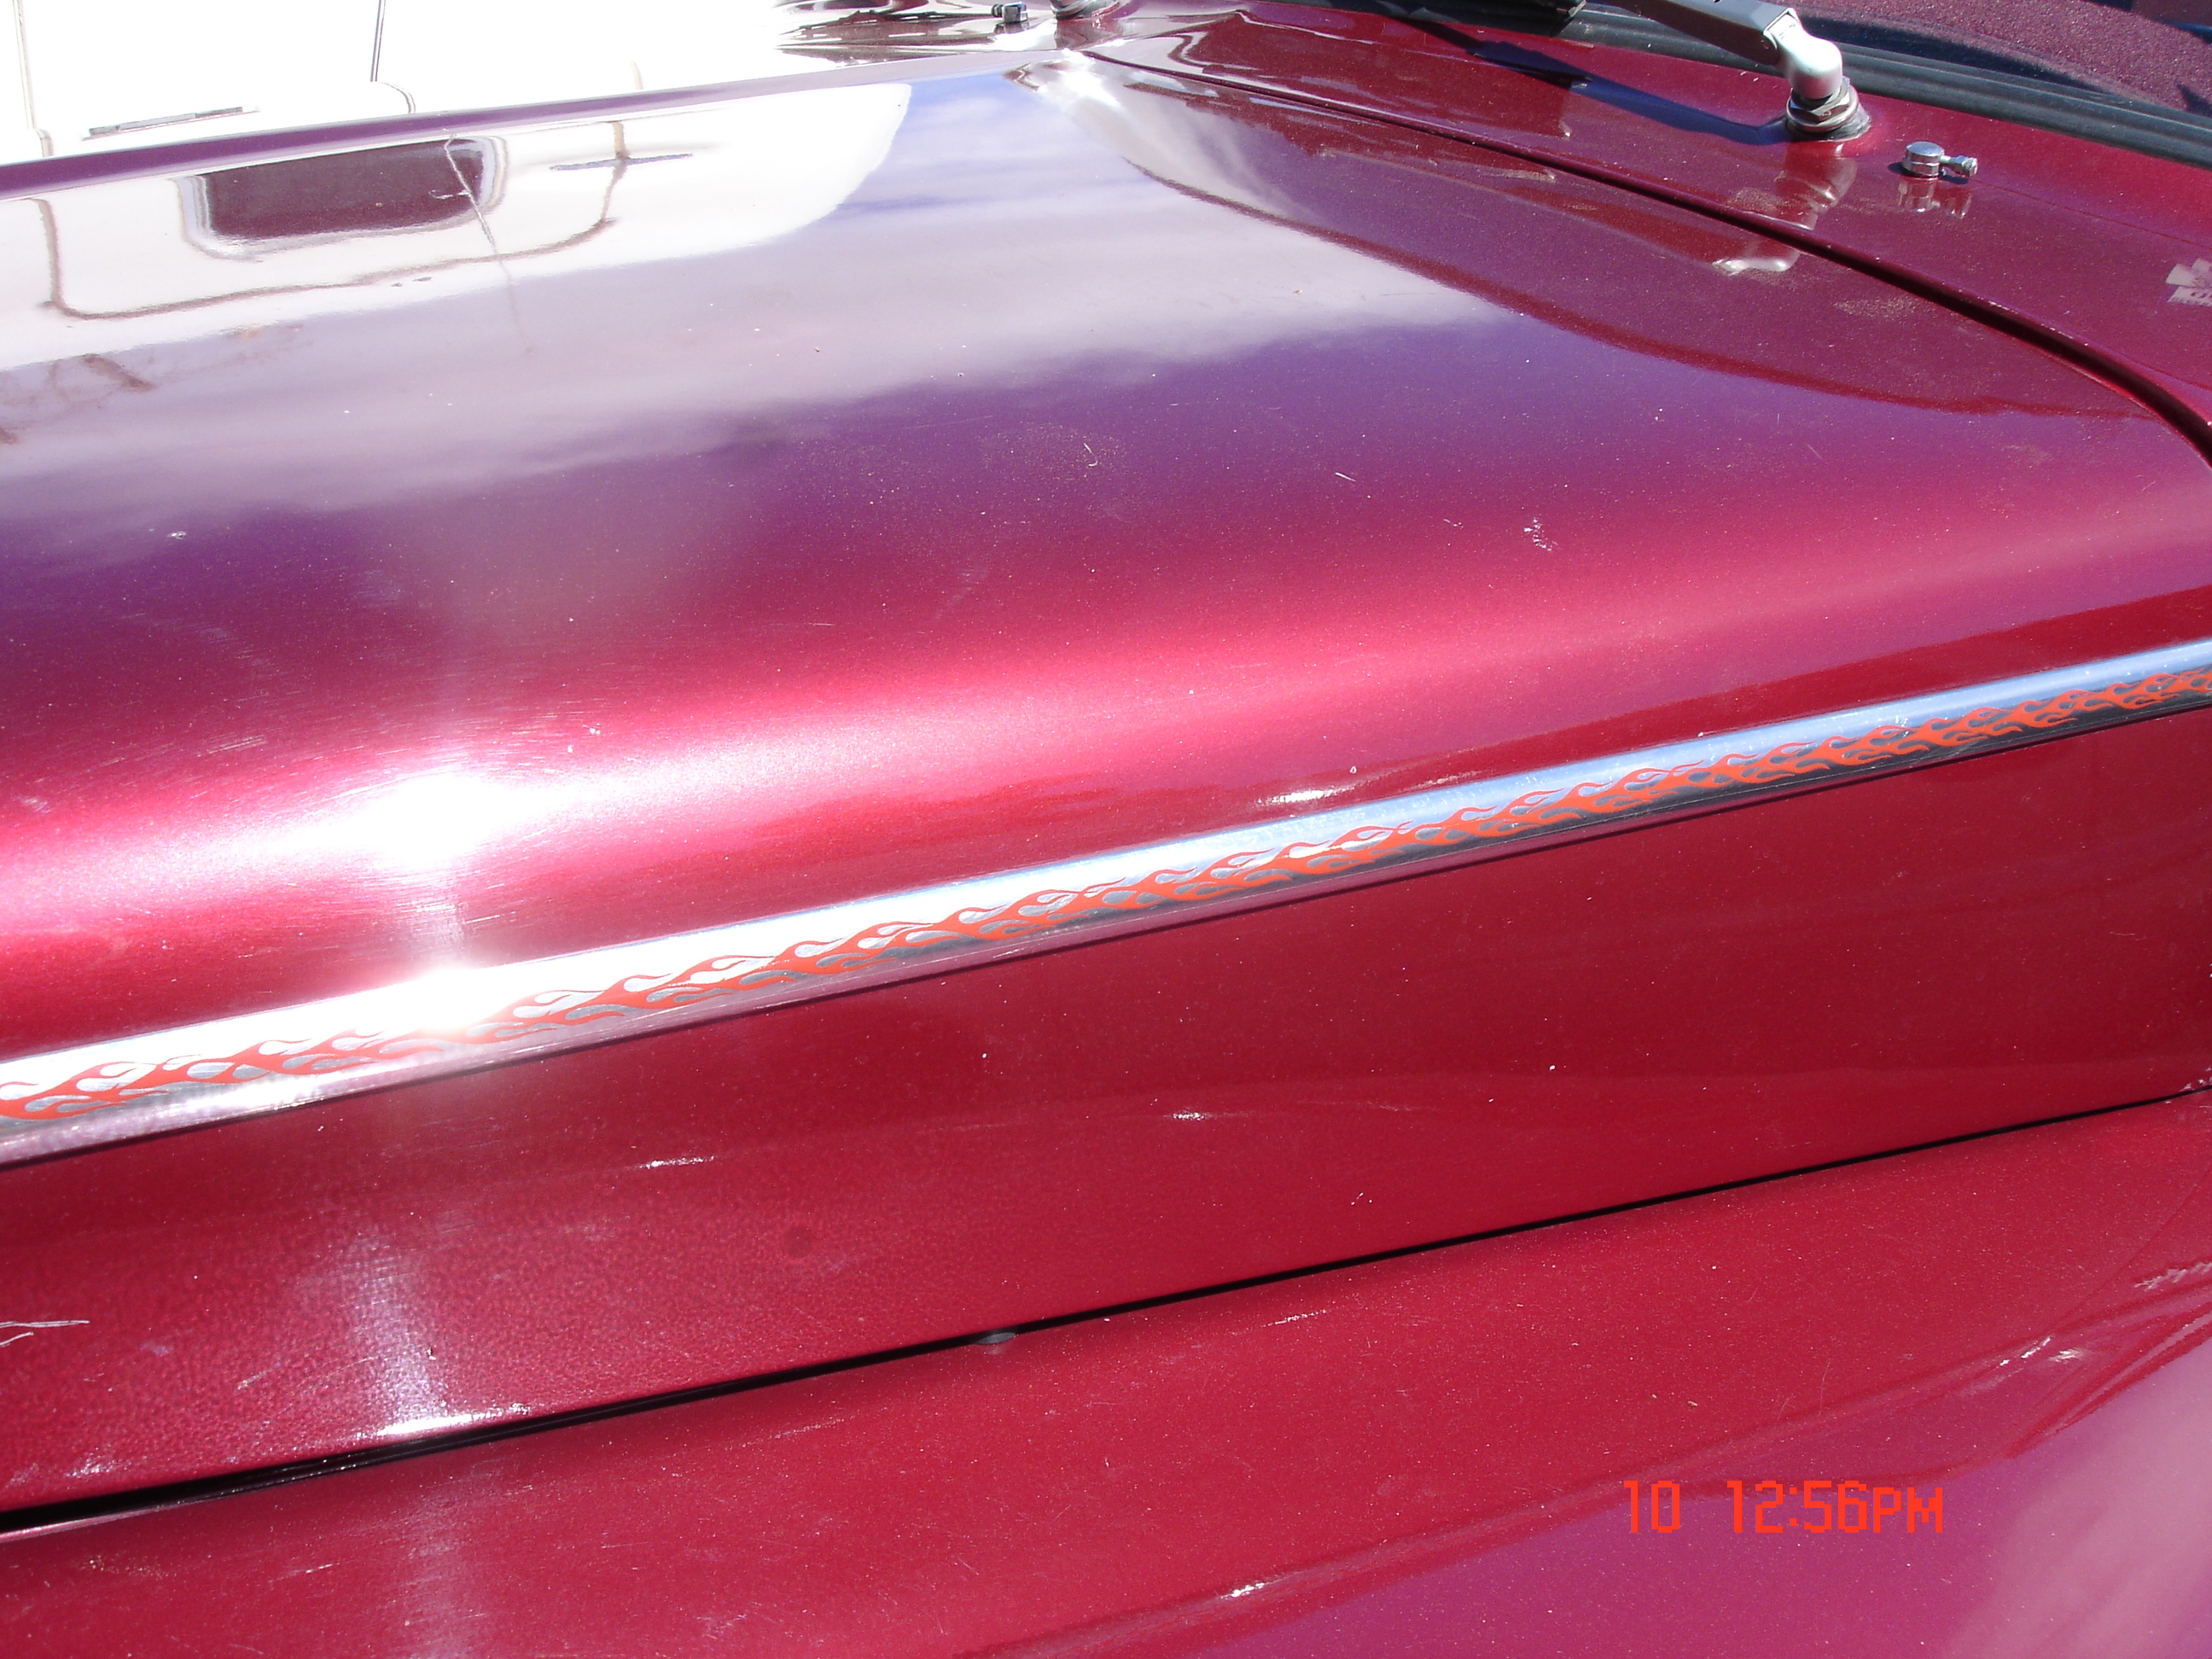
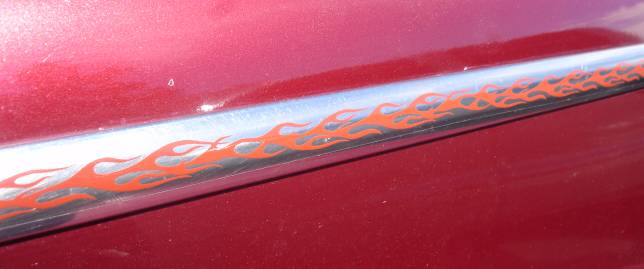
Another little project was a flame job for the car. You may know that I've named the car "Hot Stuff" after the 'Tuff Little Devil' in Harvey Comics.

I like the Retro Rod look and feel of the car, so I didn't want to do a huge flame job all over the hood and fenders. Instead, I found some 'flame' pattern vinyl 'pinstripes' and installed then onlto the stainless steel trim spears that run the length of the car.
Well, that's about it for now. We'e going to Las Vegas for a few days, so it will probably be next week before I can get back here.
My regular Volvo Page is located at http://www.geocities.com/steve_sms if you're interested n looking at the car in more detail.